
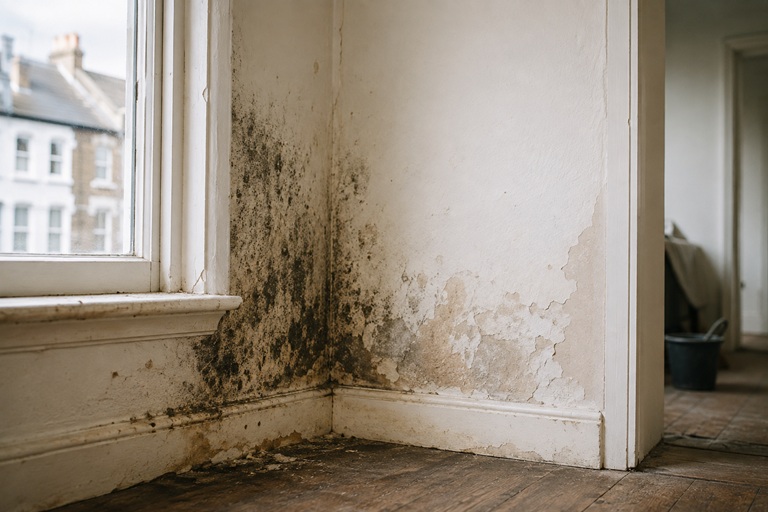
Damp is one of the easiest building problems to recognise and one of the easiest to misdiagnose.
A dark patch appears near the skirting board. Paint bubbles. Plaster feels cold. Black mould develops behind a wardrobe. The natural reaction is to treat the place where the damage is visible.
That is often where the wrong repair begins.
In an older London property, moisture may be arriving from a leaking gutter, damaged pointing, a plumbing defect, high external ground, condensation, poor ventilation or several issues at once. Older buildings can also behave differently from modern construction because many traditional walls and finishes were designed to absorb and release moisture.
So instead of starting with a product, start with one question: where is the water actually coming from?
Case File 1: The Damp Patch at the Bottom of the Wall
The symptom: Paint is flaking and plaster is deteriorating along the lower part of an external wall. Someone immediately describes it as rising damp.
The tempting fix: Inject a new damp-proof course, cover the wall with a waterproof coating and redecorate.
What needs checking first: Walk outside and look at the same section of wall. Is the external ground unusually high? Is paving, render or a flower bed bridging the damp-proof course? Does a downpipe discharge nearby? Does the paving fall towards the house?
Inside, check whether the damp follows one wall consistently or sits close to a radiator, pipe route, chimney breast or previous alteration.
Moisture at low level can have several causes. Treating every low damp patch as the same defect risks hiding the symptom while leaving the source untouched.
Case File 2: The Bedroom Corner That Keeps Growing Mould
The symptom: Black mould repeatedly appears in a cold corner, behind furniture or around a window.
The tempting fix: Wash it off, repaint with mould-resistant paint and tell the occupants to open the windows more often.
What needs checking first: Look at heating and ventilation. Check whether extractors are working properly. Consider whether large furniture is positioned tightly against a cold external wall. Look for cold bridges around window reveals, lintels and poorly insulated parts of the construction.
Bathrooms, cooking, laundry and normal occupation all add moisture to indoor air. If that moisture cannot escape effectively, the coldest surfaces often show the evidence first.
Better ventilation may be part of the answer, but simply blaming the occupants is not a diagnosis. The building may have inadequate extraction, poor air movement or very cold surfaces.
Case File 3: The Stain That Appears After Heavy Rain
The symptom: A wall or ceiling becomes visibly damp after periods of rain, then improves during dry weather.
The tempting fix: Seal or paint the inside surface.
What needs checking first: Follow the water backwards.
Inspect gutters, flashings, parapets, roof coverings, downpipes and masonry above the affected area. Look for overflowing rainwater goods, defective joints and places where water can track into the building.
The visible stain may be some distance from the original entry point. Water can travel along joists, masonry, pipes and other elements before showing itself internally.
This is why timing matters. A wall that looks almost normal during a dry visit may behave very differently after a week of rain.
A blocked gutter is a small maintenance problem until it repeatedly saturates the wall below it.
Case File 4: The Wall That Became Damp After Renovation
The symptom: A previously manageable old wall begins showing damp patches, peeling paint or salts after refurbishment.
The tempting conclusion: The renovation has somehow “created” damp.
Sometimes the work has changed how the wall dries.
Traditional masonry may have been built with materials that allow moisture to move through and evaporate. Introducing highly impermeable finishes in the wrong place can restrict that drying.
That does not mean every older house needs the same traditional material or that modern products are automatically unsuitable. It means the existing construction should be understood before selecting the repair.
During a full house refurbishment, stripped walls create a useful opportunity to understand previous layers before covering everything again.
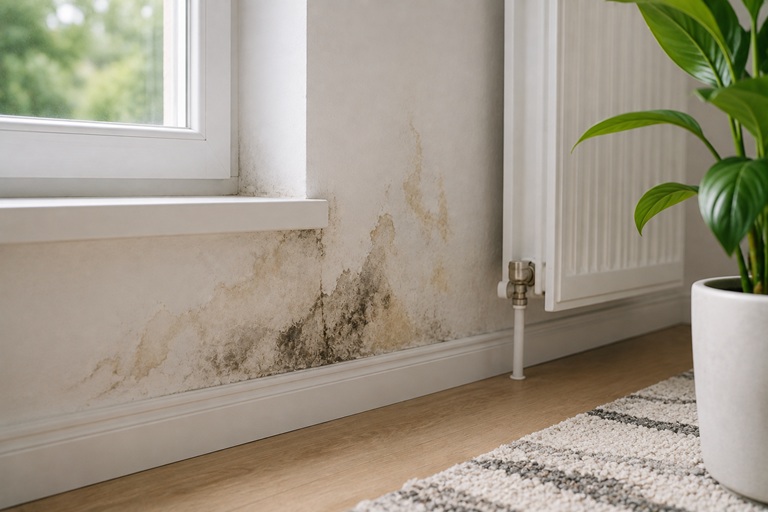
Case File 5: The “Damp” That Is Actually a Leak
The symptom: A patch appears unexpectedly on a ceiling, beside a bathroom, around a radiator or along a boxed-in service route.
The tempting response: Call a damp specialist.
The better first question: What pipework is nearby?
Small plumbing leaks can be deceptive. Water may run along a pipe or floor joist before appearing somewhere that seems unrelated to the original defect.
During a bathroom refurbishment, old supply pipes, wastes, shower connections and concealed valves are worth checking while they are accessible. The same applies when floors are opened during wider renovation work.
Before specifying specialist damp treatment, simple service defects should be ruled out.
The £100 Question Before the £10,000 Repair
Damp investigations often go wrong because the process starts with the proposed solution.
“We need tanking.”
“We need a damp-proof course.”
“We need to replaster this wall.”
A better process starts without deciding the repair in advance.
First establish where the moisture appears, when it appears and what changes it. Does it worsen after rain? Only during winter? When the bathroom is used? Is it concentrated around one service route? Does the outside of the wall show matching defects?
Then inspect the building as a system rather than a collection of isolated surfaces: roof, rainwater, external ground, masonry, windows, ventilation, heating, plumbing, drainage and previous repairs.
Moisture diagnosis is often detective work.
Why a Moisture Meter Is Not the Whole Investigation
Meters can be useful tools, but a number on a screen does not explain why moisture is present.
Readings need context: the material being tested, salts, surface conditions, temperature, construction type and the pattern across the building.
A single high reading should lead to further investigation rather than automatically dictate a particular treatment.
This matters in older London properties where multiple materials and decades of alterations can sit within the same wall.
What We Want to Know Before Covering the Wall Again
Once the source has been identified and repaired, there is another temptation: make the wall look finished immediately.
Buildings need time to dry.
How long depends on the amount of moisture, wall construction, weather, heating and ventilation. Closing a wall too quickly with new finishes can trap residual moisture and make it appear that the repair has failed.
During a substantial renovation, the programme should allow for investigation, repair and drying rather than treating damp as a decorating defect.
The final painting and decorating is the last step, not the first.
The Rule Worth Remembering
A damp patch tells you where a building is suffering. It does not necessarily tell you where the problem began.
The correct repair for overflowing rainwater goods is not the same as the repair for condensation. A leaking shower is not treated like groundwater. A cold bridge needs a different response from damaged pointing.
Older properties reward careful diagnosis because unnecessary interventions can be expensive and sometimes make the building harder to dry.
If you are planning a renovation and have damp, staining or deteriorated plaster that needs investigating as part of the work, contact Right Build Group to arrange a site survey. The useful question is not simply how to cover the damaged area, but what needs to change so it does not return.