

RIGHT BUILD GROUP / WANDSWORTH
Water Damage Restoration in Wandsworth
Keep clear of a damaged ceiling and establish its stability, services and repair extent before work begins.
Enquiries: Monday–Friday, 9am–6pm
- Safe ceiling assessment
- Defined removal boundaries
- Coordinated reinstatement
WATER DAMAGE / THE WHOLE BUILDING
Treat a changed ceiling shape as a safety concern
A water mark and a sagging ceiling should not be treated as the same enquiry. If plaster or board has changed shape, detached or become visibly unstable, keep people away and explain that condition when seeking help. Do not stand underneath to inspect closely or assume a small bulge is safe because the surrounding decoration looks intact.
Right Build’s water damage restoration work can address drying and later building repair, but the immediate condition determines the first safe step. Appropriate assessment may be needed before anyone disturbs the ceiling or enters the construction above. A planned restoration appointment is not a substitute for emergency assistance where there is immediate danger.
Describe the room, the visible change and any known source action from a safe position. The information helps the team understand whether the initial visit needs additional advice or precautions. It is better to state that the condition is uncertain than to test the ceiling by touching or puncturing it.
ESTABLISH THE SOURCE
Find what wet the ceiling without assuming the source
A leak above may come from plumbing, a fitting, a roof defect or another route. The location of the bulge does not necessarily identify the entry point because water can travel along supports or services. Tell the appropriate trade what was happening when the damage appeared and whether it changes with rain or water use.
Record any isolation or source repair and retain the contractor’s description. Drying needs an understood source status rather than a message that somebody has attended upstairs. If another owner or manager controls the suspected area, ask them to coordinate access and share relevant findings.
A repeated mark after a previous repair needs its own explanation. It may represent continued entry, a different source or remaining moisture in the construction. Do not assume that replacing the same decorative patch again answers the problem. The investigation should connect the current evidence with the history.
BEFORE A RESTORATION VISIT
Do not release a bulge or pull down loose plaster
Puncturing a ceiling can bring down water and unstable material and expose services. Keep clear and obtain appropriate advice on making the area safe. Do not improvise supports, remove boards or walk across uncertain construction above the room.
Water and electrical installations require particular care. Avoid wet switches, light fittings and equipment, and arrange a registered electrician’s assessment before affected systems are used. Do not enter standing water where electrical safety is uncertain. Seek appropriate emergency help where the risk is immediate.
Where safe, photograph the room from outside the affected area and note the discovery time. Contact the insurer about evidence and authorisation for non-urgent removal. Report suspected contamination at the outset so material handling and cleaning are considered before work is arranged.
INSIDE A WATER-DAMAGED PROPERTY
Inside a water-damaged room
Explore the possible routes through a room. These checks explain an assessment; they are not instructions to open or test construction yourself.
Illustrative cutaway · build-ups vary between properties.
Ceiling
How water reaches it. Water collecting above a lining
What may be affected. Sagging, bulging or detachment
What to check. Stability, support and safe access
Possible response. Keep people clear pending advice
Walls
How water reaches it. Runoff from ceiling to wall
What may be affected. Loose or stained adjoining fabric
What to check. Condition at the ceiling edge
Possible response. Include the relevant wall junction
Floor finish
How water reaches it. Falling water reaching the covering
What may be affected. Local floor damage
What to check. Finish, contamination and background
Possible response. Add a distinct floor assessment
Subfloor
How water reaches it. Water below the damaged room surface
What may be affected. A sheltered affected layer
What to check. Build-up and safe access
Possible response. Avoid assuming surface improvement is enough
Insulation
How water reaches it. Leak into material above the ceiling
What may be affected. Wet enclosed product
What to check. Access, condition and recoverability
Possible response. Resolve before the lining returns
Plumbing
How water reaches it. Failed service above the room
What may be affected. A collection point below the source
What to check. Appropriate trade investigation
Possible response. Confirm source action separately
Moisture penetration
How water reaches it. Rain entry travelling along support
What may be affected. A bulge offset from entry
What to check. Roof route and incident history
Possible response. Repair the actual external defect
EVIDENCE BEFORE REPAIR
Assess the ceiling system as well as the finish
A repair decision needs to understand the lining, its support and the construction above. Modern board and traditional plaster can fail differently. The assessment should establish what is physically damaged, what remains supported and which parts require further professional advice.
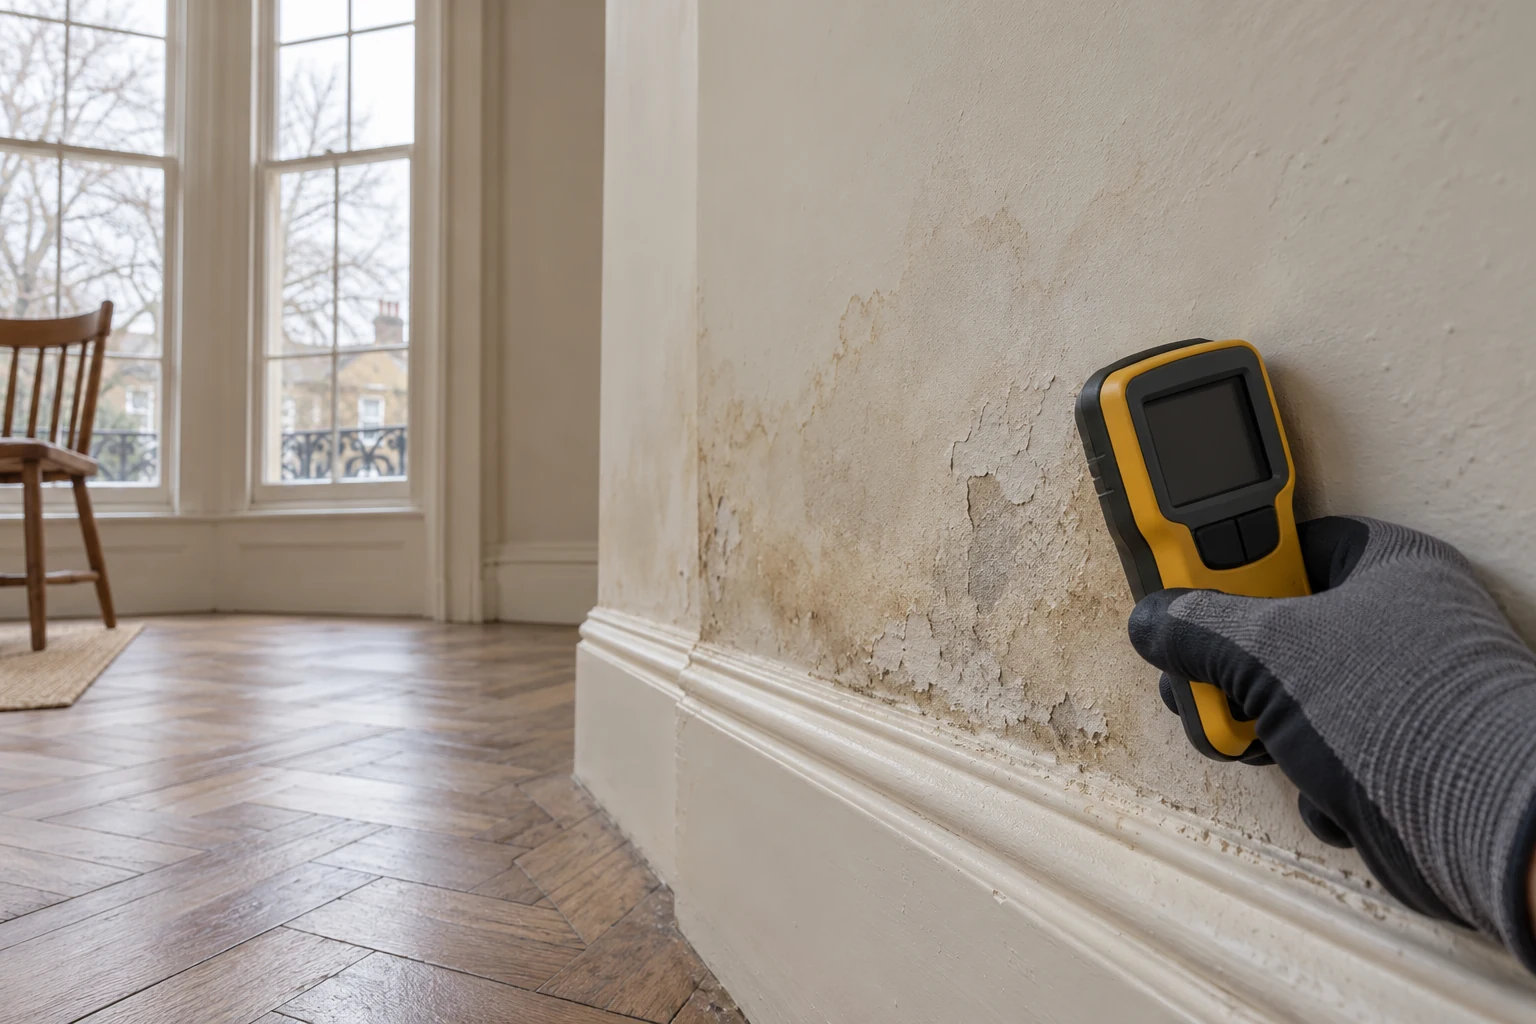
A moisture reading is not a stability assessment. Measurements can contribute information about the relevant material, but they do not by themselves show that a ceiling is safe to retain. Ask how condition and support are being considered alongside the drying observations.
Access needs a defined purpose and method. Services, relevant hazardous materials and the role of the construction should be considered before opening. Where structural questions arise, obtain the appropriate expertise rather than extend a decorating inspection into an unsupported assurance.
Record the limits of the first visit. A ceiling void that cannot be viewed safely remains an investigation question. The next instruction should say what needs to be established and who will arrange it, so an inaccessible layer is not silently accepted as part of a standard patch repair.
REPAIR THE LAYERS, THEN THE FINISH
Choose repair extent after condition is understood
Some failed lining may require replacement while adjacent sound fabric can be retained. The boundary should follow assessed condition, support and contamination rather than a rectangle drawn only around the visible stain. Where traditional plaster or decorative detail is significant, suitable advice can help avoid unnecessary loss.
A repair specification needs to include the background and junctions, not just a skim and paint. Identify any cornice, service opening or adjoining wall edge that must be returned. Important construction functions should be restored as appropriate, with the relevant professional input.
Discuss the visible finish separately from the technical removal boundary. A local lining repair may be followed by wider decoration for appearance. Where floor coverings were affected by falling water or the incident itself, coordinate the floor recovery scope rather than assume it is included in a ceiling quotation.
Where the repair meets an existing light fitting or access point, identify which trade disconnects, protects and returns it. A plastering instruction should not leave the responsibility for affected electrical components unstated. Confirm the sequence before the lining is installed, including any inspection that needs to occur while construction remains visible. The household can then understand why the ceiling cannot simply be closed as soon as the wet material has been removed, and the installer has a clear basis for coordinating the remaining work.
WHAT THE SURFACE CANNOT SHOW
Keep the exposed-construction record
Once an area has been opened safely, photograph the retained supports, lining edges and relevant services with a room reference. Record what has been removed and what remains concealed. The person carrying out reinstatement needs to understand the actual background, particularly where a different trade made the opening.
If the investigation reveals further damage, agree the next assessment and any changed scope before extending removal. The homeowner should know why another area is being considered and which question it will answer. A broader opening is not automatically justified by the convenience of a full new ceiling.
Before closure, confirm that the relevant source, condition and drying information has reached the installer. Include any maintenance access that must remain. The final decorative finish should follow an accepted construction, rather than become the point at which hidden questions are forgotten.
MATERIAL / CONDITION / DECISION
Material decisions after water damage
Possible approaches depend on contamination, physical condition and the particular construction. The assessment should decide what can remain.
| Material | Common damage | Assessment required | Possible restoration approach |
|---|---|---|---|
| Plasterboard | Sagging or weakened ceiling board | Fixings, support and concealed services | Make safe and replace assessed failed sections |
| Timber flooring | Water reaching boards below the ceiling | Condition after the same incident | Include a distinct floor judgement |
| Concrete or screed | Moisture below the damaged room surface | Layer access and installation requirements | Do not infer from ceiling progress |
| Insulation | Wet product above an unstable lining | Safe access and recovery suitability | Resolve before enclosing the ceiling |
| Carpet and underlay | Covering affected by falling water | Contamination and material deterioration | Agree suitable recovery or disposal |
| Ceiling plaster | Detached plaster or changed ceiling shape | Appropriate stability and fabric assessment | Keep people clear before repair |
DRYING IS NOT THE FINISHING STAGE
Drying is not the same as restoration
The stages inform one another, but each answers a different question.
| Stage | Drying | Restoration | Decision to resolve |
|---|---|---|---|
| Moisture removal | Operate within an assessed safe area | Plan the ceiling repair from condition | Is the ceiling supported? |
| Structural drying | Review the wet retained layers | Keep stability questions with appropriate expertise | Can retained layers be assessed? |
| Material replacement | Prepare the justified removal extent | Replace failed lining and background | Where has integrity failed? |
| Repairs | Confirm the construction to be enclosed | Coordinate services and ceiling reinstatement | What background returns? |
| Finishing | Resolve remaining repair requirements | Complete the accepted ceiling finish | Is closure properly informed? |
A CONTROLLED RECOVERY
A coordinated route from assessment to reinstatement
Explain the ceiling change
Explain sagging or changed shape before arranging an ordinary restoration visit.
Establish safe inspection
Establish appropriate safe access and advice on the affected ceiling.
Prepare the accessible work area
Prepare the assessed work area before installing the drying arrangement.
Review retained ceiling layers
Review retained ceiling layers without treating readings as stability evidence.
Return the specified ceiling
Return the specified lining, service interfaces and decoration.
WANDSWORTH / RETAINED FABRIC & SHARED BUILDINGS
Describe the actual Wandsworth room and building
The council’s Wandsworth Town appraisal describes predominantly Victorian residential development with terraces, semi-detached houses and variations in scale. For a home within that described area, explain the actual ceiling construction and known alterations when arranging the visit. The external house form cannot establish whether today’s ceiling is traditional plaster, later board or another system.
A lowered ceiling or an earlier room alteration may conceal services and change the accessible view. Point out known work records without dismantling anything. This information helps the assessor define a purposeful inspection and identify where another trade or professional is needed.
Where significant retained fabric is involved, obtain the relevant property-specific advice before deciding replacement. The practical priority is still assessed stability and an appropriate repair. Keep photographs and descriptions of sound detail so the later making good is based on the room itself rather than a generic assumption about Victorian interiors.

EQUIPMENT WITH A DRYING PLAN
Plan occupation around the assessed work area
Tell the team if the affected room lies on an essential household route. Agree how people will stay clear and how access for assessment, equipment and repairs will work. Do not create a route through an unstable area merely because the adjoining rooms remain in use.
The equipment hire service describes installation and interim checks. Ask for instructions suited to the safely accessible rooms and a contact for equipment faults or a new wet mark. The arrangement should be demonstrated to the people living with it.
If trim, panels or other timber components require reinstatement, define the carpentry package after the ceiling background and service access are settled. The fitted finish should complete the assessed repair, not conceal a support or access question that another professional still needs to resolve.
SCOPE / ACCESS / MATERIAL DECISIONS
Ask the quotation to explain the ceiling decision
Separate making-safe work, source repair, investigation, drying and reinstatement where different appointments apply. Ask what evidence supports the proposed removal area and which items remain provisional because access or advice is outstanding. This helps compare scopes that might otherwise look similar only because both mention a ceiling.
Agree how newly exposed conditions will be recorded and authorised. Insurer decisions depend on the policy and claim, while the technical scope should explain the work needed. Retain the accepted instruction and relevant evidence rather than assume every additional item is covered.
For the final room, state whether decoration includes adjoining surfaces and how existing detail will meet the repair. Keep product information and photographs of relevant concealed work. A useful handover explains the returned construction and any maintenance access, as well as showing a clean finished ceiling.
Confirm which trade returns each affected light fitting before the ceiling lining is enclosed.
A VISUAL DEMONSTRATION
From exposed damage to a repaired interior
Illustrative visualisations explain possible restoration stages; they do not depict completed company projects.


QUESTIONS BEFORE THE WORK
Understand the next decision.
Should I puncture a sagging wet ceiling to let water out?
No. Keep clear and obtain appropriate advice; water, unstable material and concealed services can make that action hazardous.
Can a moisture reading show whether a ceiling is safe?
No. Stability and support require appropriate assessment in addition to any moisture investigation.
Does the lowest point of a bulge identify the source?
Not necessarily. Water can travel before collecting, so the source and affected construction need investigation.
Can drying equipment be installed beneath unstable plaster?
The safe access and making-safe sequence must be addressed before an equipment arrangement is agreed.
Must every marked ceiling be replaced in full?
The extent should follow condition, construction and contamination, with sound fabric retained where appropriate.
What should the installer know about an opening made by another trade?
Provide its location, exposed-construction record, retained layers and any relevant outstanding requirements.
How should significant cornice be handled in the repair?
Record its condition and seek suitable advice before removal, with the repair boundary stated explicitly.
Who decides whether an essential room route can remain open?
Agree occupation and access around the assessed risk with the appropriate team; do not improvise a route through the damaged area.
What distinguishes making safe from final reinstatement?
Making safe addresses immediate construction concerns; reinstatement follows the assessed source, material and background decisions.
NEARBY AREAS
Water damage support nearby
ASSESS. DRY. REINSTATE.
Arrange a practical assessment
Telephone 020 3404 2271, Monday–Friday 9am–6pm, to discuss the damage, access and assessment availability.
Enquiries: Monday–Friday, 9am–6pm