

RIGHT BUILD GROUP · ISLINGTON
Flooring Services in Islington
A narrow route leaves little room for an awkward edge. Plan floor levels, storage clearances and doorway transitions together before choosing how the boards continue.
- Circulation and openings reviewed
- Finished floor build-up considered
- Product-led transition details
A small threshold can affect the whole route.
When a hall is narrow, a projecting trim or a cupboard door that catches the new floor can become a daily irritation. The problem may not be visible on the flooring sample. Begin by showing how people pass through the space, where belongings wait and which doors are opened at the same time.
Discuss an Islington project through Right Build’s flooring service with photographs of connected rooms and proposed products. Treat the circulation route as part of the fitting plan. A neat finish should connect the rooms practically while respecting each flooring system’s requirements.
Look along the route with the doors open.
Review the approach to each doorway, not only the view into the room. A transition can be conspicuous from a low corridor view even when it looks discreet from above. Compare its profile with the finished levels on both sides rather than selecting it as an isolated colour match.
Mark fixed cupboards, door swings and anything that narrows the path. A board layout can create a coherent view without forcing the floor through every opening as one unrestricted field. Ask the installer to consider the selected product’s permitted layout and joints before approving that visual idea.
Coordinate doors and fitted storage where the new build-up changes their relationship with the floor. Cupboard bases and trims should be considered against the flooring instructions, including any requirement not to restrain movement. Agree which person completes each boundary.
Review the space occupied by someone opening a cupboard at the threshold. The floor detail may be technically neat while the route becomes inconvenient because the user has to stand across an adjoining doorway. Mark the opening movement and the place a bag or basket is put down. This exercise can distinguish a storage problem from a floor-level problem before either is altered. If a profile is needed, compare its physical shape in the route as well as its finish. A small sample viewed in the hand does not show how it meets both floors.
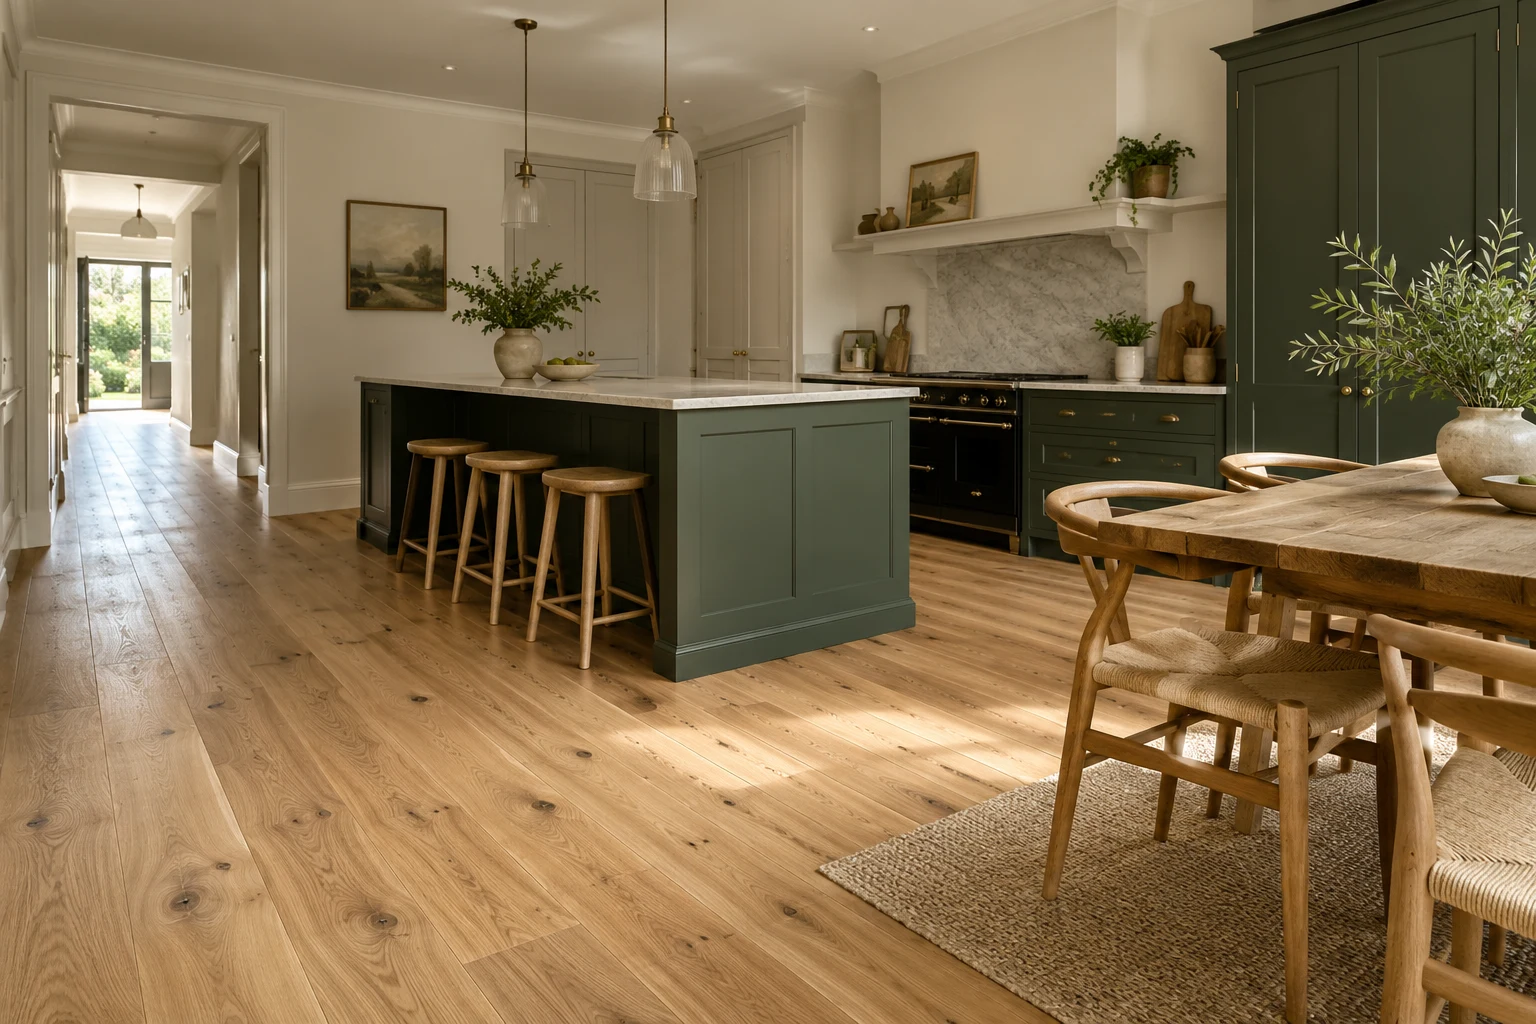
Compare the details that reach the doorway.
The same visible colour can sit within very different floor constructions.
| Material | Construction | Check before fitting | Future care |
|---|---|---|---|
| Solid wood | Timber section with natural movement. | Fitting method and total build-up. | Assess condition before refinishing. |
| Engineered wood | Real-wood face bonded to layers. | Joint and doorway requirements. | Check remaining wearing material for repairs. |
| Laminate | Decorative layer and manufactured core. | Product-specific transitions and room use. | Use specified cleaning; do not sand as timber. |
BEFORE THE FINISH
Preparation determines the edge, not just the middle.
A cover profile should complete an agreed transition, not conceal an unassessed change in construction.
Inspect the subfloor near thresholds as carefully as the centre of the room. Previous floor changes may have left local patches or differing layers at the doorway. Assess soundness, flatness, cleanliness and moisture before deciding what preparation the new system requires.
A surface can slope while remaining broadly flat, or have a local ridge despite appearing level overall. Those are different findings. Ask which condition affects the proposed floor and what correction is included, rather than assuming every transition needs the same treatment.
A smoothing compound may be suitable where the assessed substrate requires correction, but the chosen system must suit the base. Primer, thickness and readiness requirements should be followed. A convenient bag of compound should not determine the method before a timber or mineral substrate is understood.
Wood’s response to moisture remains relevant in connected rooms. Identify new wet works, leaks and environmental conditions before fitting. A compatible moisture-control measure, where specified, belongs to the complete installation. Coordinate changes through house refurbishment if several rooms or services are involved.
Plan the route before the installation order.
Show the connections
Supply photographs from each side of the doorway and explain which doors or cupboards conflict. Share proposed product details and known floor changes.
Agree levels and boundaries
Survey the build-ups, base and relevant openings. Record preparation, layout and transition responsibilities, including questions that require the old covering to be lifted.
Prepare the connected spaces
Keep agreed routes and protection practical while the work proceeds. Review exposed differences before continuing the new floor across an uncertain junction.
Walk and operate
Review the transitions and door movement in normal use. Retain floor and profile references with care and maintenance information.
Connected rooms can have different heating arrangements.
Identify existing or proposed underfloor heating and any zones crossing the route. The floor, fitting system and heating requirements should be considered together. A continuous appearance is a preference, not evidence that different zones need no separate detail.
Use the manufacturer’s instructions for operating conditions, resistance and commissioning. Rugs, matting and furniture may affect use and should be checked accordingly. Follow the specified restart process after fitting instead of treating a shared thermostat as approval for every floor area.
Assess the existing threshold before replacing everything.
An old wooden floor may have sound areas and a worn or damaged doorway. Right Build lists sanding and varnishing within its flooring work, so discuss the condition before deciding on wholesale replacement. Separate finish wear from damage or movement beneath it.
Sanding potential depends on construction and remaining usable material. Engineered products vary; laminate does not become a sandable timber surface. A local repair or replacement board may remain visually different from an aged surrounding floor, and that expectation should be discussed.
Prepare the Islington route for survey.
Take photographs with normal storage in place, then identify what can genuinely move elsewhere. A hall that works only when every shoe or bag is removed may need a better storage arrangement alongside the flooring, not simply a different board direction.
If an older doorway has retained mouldings or significant boards, record the detail before removal. Establish relevant property advice where protected fabric may be affected. The actual junction and construction should guide the proposal rather than an assumption about the area’s buildings.
Agree how the household reaches essential rooms during work. Show the delivery approach and a suitable product storage location. Where access is shared or managed, confirm relevant arrangements with the responsible contact before the installation plan relies on them.
Prepare photographs with ordinary doors and storage fronts open, not only the clear route. Include anything that cannot sensibly be moved elsewhere. Then identify which changes belong to the floor and which might require another arrangement of belongings or fitted work. The aim is not to promise a wider hallway; it is to avoid spending on a new surface while repeating the same daily obstruction. Keep those priorities in the scope so a later product substitution does not reintroduce a clearance issue already resolved during the survey. Review both the closed appearance and everyday operation before approval.
Choose for the spaces joined by the route.
Kitchen doorway
Confirm product suitability for spills and cleaning, and check the transition beside fixed cabinetry. Coordinate appliance access with any kitchen refurbishment rather than discovering a trapped appliance later.
Entrance hall
Consider grit, matting and door clearance. Review the complete build-up and profile height, including how the entrance door functions, instead of comparing only board thickness. Where a corridor changes direction, show the view around the corner and any changes in construction. A continuous board line can be a design priority, but it should be discussed against the joint and movement instructions. Keep the visual proposal and the technical floor layout together. If they conflict, review alternatives explicitly rather than leaving the fitter to choose between an agreed appearance and a required detail. A deliberate threshold can sometimes be easier to understand and maintain than an attempt to disguise every boundary, but its suitability still depends on the products and levels.
Living space
View the floor from seating and the doorway. Discuss furniture feet and rugs, then follow the care instructions for the oiled, lacquered or laminate surface.
Compare the connected work, not just room areas.
Several small rooms can involve more edges, cutting and transitions than a single open area. Ask the quotation to describe the layout and boundary details so the amount of fitting is understandable.
Identify removal, disposal, preparation and work at cupboards or doors. If the base condition is uncertain beneath the old covering, keep that inspection item visible. A general allowance for finishing should not leave all profiles and adjustments undefined.
Walk the route with the quotation and count the boundaries it describes. A small hall can meet several different floors and cupboards, so an edge omitted from the scope may matter more than a modest difference in board price. Agree the profiles and relevant adjustments at those locations. If simplifying the design, keep the most-used doorway comfortable and the required joints functional before spending on a less visible decorative detail.
Doorways, storage and a clear path through.
Review the floor as part of the route between rooms, including its prepared base and finished transitions.

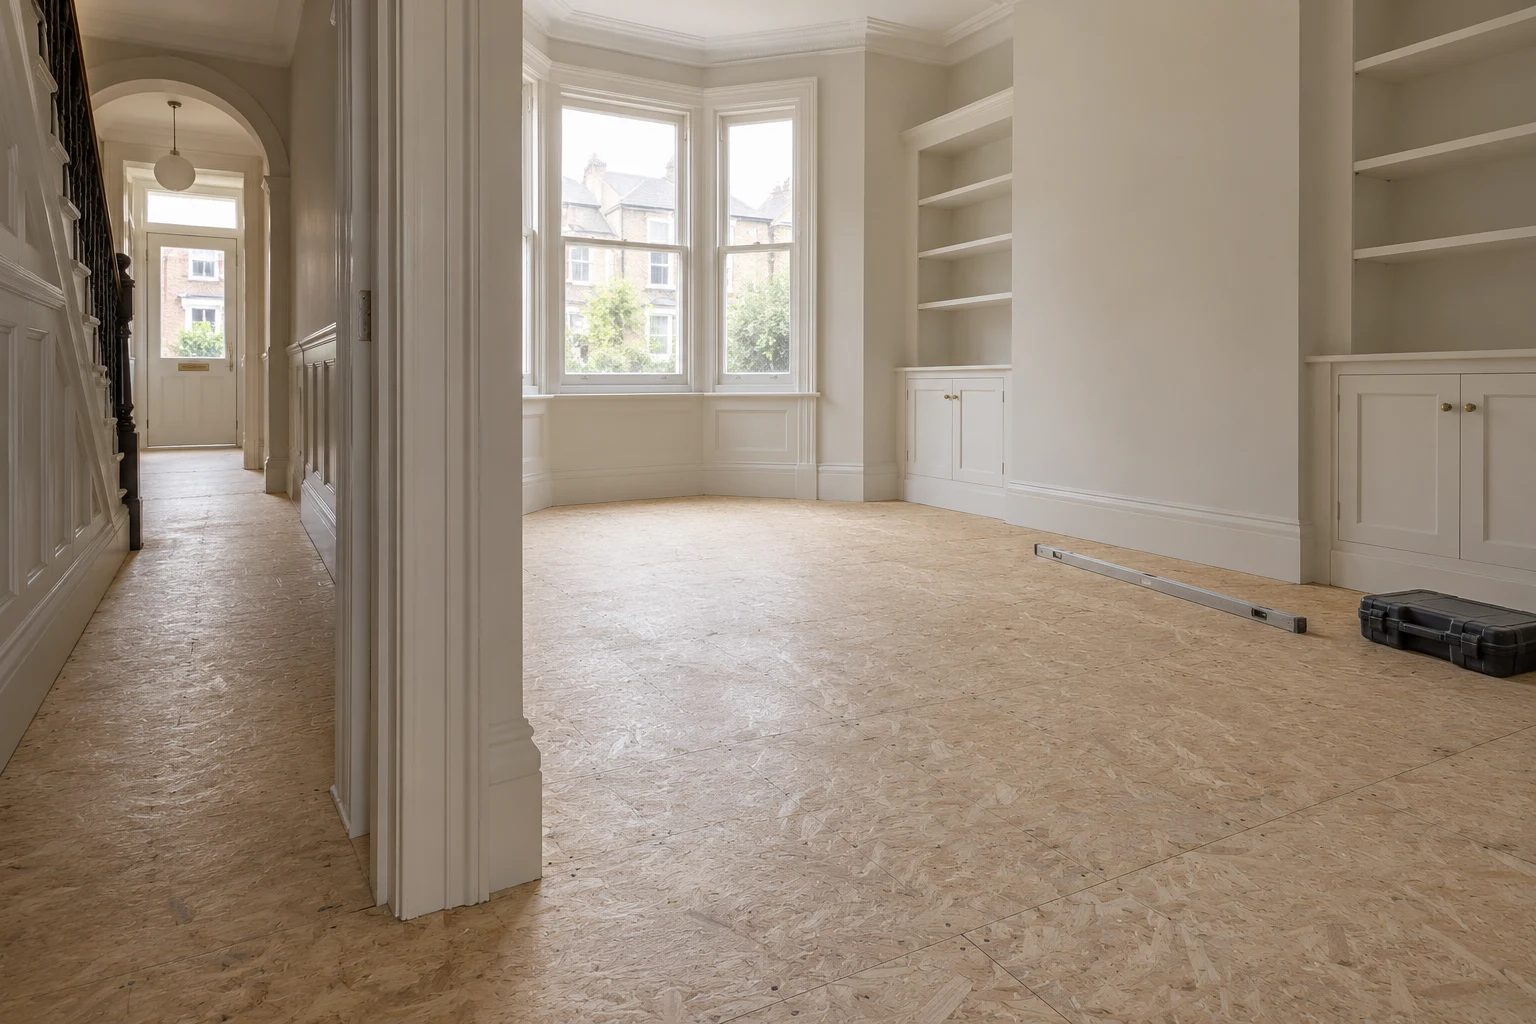


Questions before the floor is ordered.
Can one floor run through every doorway?
Check the selected system’s layout, movement and joint requirements first. The room dimensions, heating arrangement and fixed obstructions can affect the detail even where a continuous appearance is preferred.
Will a slim profile always be easier to use?
Its suitability depends on finished levels and the particular junction. Compare the profile and route rather than choosing the least visible product without checking its purpose.
Should cupboard doors be adjusted before fitting?
Review them against the planned finished build-up and assess their construction. Agree any carpentry scope before installation rather than relying on an improvised adjustment afterwards.
How is floor movement allowed for beside hall storage?
It is a movement allowance at positions required by the flooring manufacturer. Its size and treatment depend on the product and layout; trims should accommodate it without restraining the floor.
Does every narrow hall need levelling?
No. Assess the base against the chosen system. Local flatness issues and broader slope are different, and the appropriate correction depends on the substrate and product requirements.
Can an old doorway patch be sanded out?
Inspect its construction and remaining timber first. Sanding cannot resolve every material difference, moisture problem or supporting defect, and a local repair may still remain visible.
Is laminate suitable beside a kitchen?
Check the exact product’s room-use and water-related guidance. Do not transfer a general claim from another laminate range or assume a matching colour means identical suitability.
What should be kept after fitting?
Keep flooring and transition references, installation and care guidance and relevant heating information. Those records help identify the assembly if a future edge repair or product query arises.
Another property with connected rooms?
Use the neighbouring area information or the main flooring service to discuss the route and room conditions.
Plan the doorway as carefully as the floor.
Arrange an Islington survey with photographs of the connected rooms and storage. Agree levels, movement and finishing before installation.