
RIGHT BUILD GROUP · CAMDEN
Carpenters in Camden
The floor, doors and fitted furniture need to meet properly. Bring their levels and edges into one measured plan before the finishing work starts.
- Coordinated floor and trim junctions
- Doors planned around finished levels
- Measured fitting and material choices

The difficult part is often at the edge.
A new floor may look straightforward across the centre of a room while raising questions at every boundary. Does the skirting stay? How does a door clear the finished surface? What happens where the flooring meets a built-in cupboard? Answering those questions early avoids leaving the carpenter and floor fitter to work from different assumptions.
For a Camden project, Right Build’s carpentry service can include interior trim, doors, floor fitting and fitted furniture within an assessed scope. Bring the proposed floor construction to the enquiry, along with photographs of existing edges. A sample board shows appearance; the complete build-up explains the level that adjoining work must accommodate.
Treat the room boundaries as part of the work.
Skirting and architrave
Record profiles, projections and the condition of retained lengths. Decide whether new work should match, continue or deliberately change the existing detail. Corners and short returns deserve the same attention as long straight walls.
Doors and frames
Check the door with its frame, ironmongery and finished floor. Explain whether it already catches or only needs review because the floor is changing. The appropriate response depends on the assembly and its role.
Floors and fitted units
Discuss floorboards, subfloors or flooring installation alongside cabinets and wardrobes that meet them. Establish the preparation and fitting sequence rather than assuming every flooring product can be treated in the same way.
The details where floors and joinery meet.
Set out the finished level before cutting trim.
Ask the flooring proposal to identify the actual layers being used, including any preparation that changes the level. Coordinate the selected product’s installation instructions with the furniture and trim details. An expansion or movement requirement belongs to the particular floor system; it should not be replaced by a decorative guess.
Carpentry often concerns on-site fitting and timber construction, while joinery includes making components such as doors or fitted units. These activities meet at a floor edge. Right Build’s sketch review can show which component is made first, what is fitted later and which final measurement depends on the floor being ready.
Draw a section through a difficult junction if a front view leaves it unclear. It can explain the relationship between a cabinet plinth, the floor and the wall without relying on verbal descriptions. Keep the approved detail with the flooring service specification so the two scopes describe the same finish.
Where a doorway connects two different floor finishes, review the actual transition component alongside both products. Include the door’s closed position and the view from each room. A trim selected only because its colour matches can still create an awkward profile or conflict with movement. Keep the threshold detail with the floor and door information rather than leaving it to a final shopping decision.

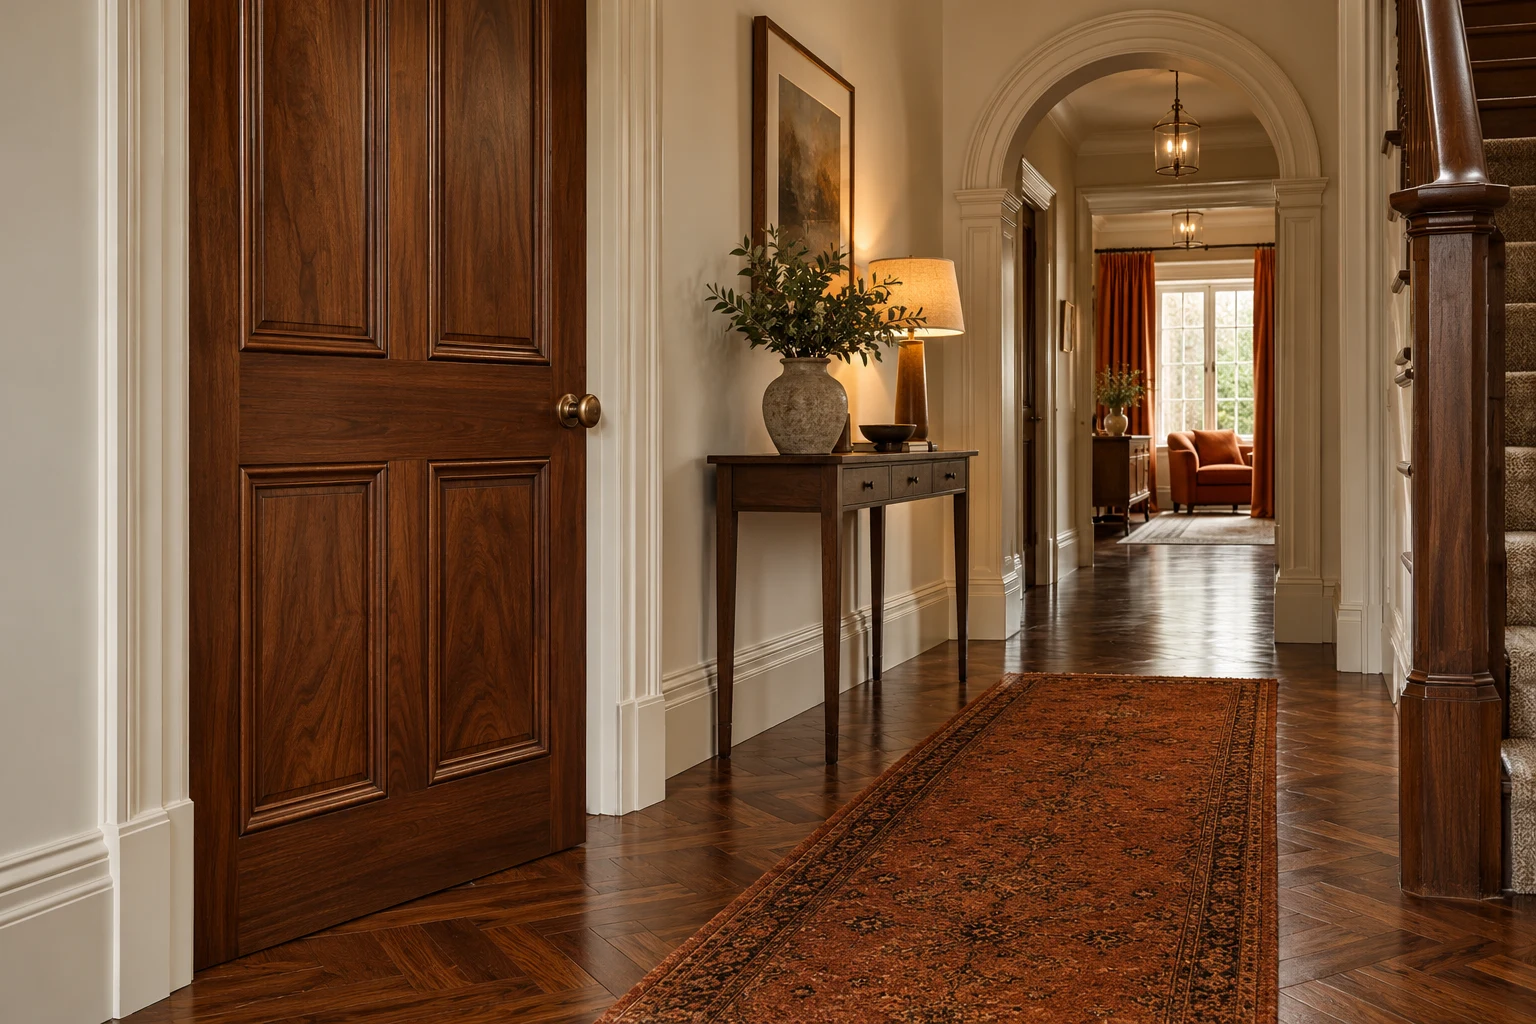


Make the cupboard and the floor work together.
A wardrobe beside a changed floor needs more than an overall width. Check door opening, plinth height, access to removable parts and the visible edge of the flooring. Ask how future replacement or maintenance would be approached without assuming that the whole cupboard must be removed.
Record whether existing furniture is fixed or can be moved. Do not arrange new boards around a unit simply because it is too inconvenient to empty before survey. The chosen sequence should consider the particular floor system and furniture construction, with responsibilities agreed between the people carrying out the work.
Measure the opening in its prepared condition. An older room may have a sloping floor or walls that change across the depth of an alcove. Confirm which irregularities the furniture will follow and where a deliberate filler or scribed edge will be visible.
Keep storage loads and contents in the brief as well. Shelves need suitable support, and drawers need room to open beyond the floor edge or nearby trim. A technically coordinated junction still has to serve the person using the cupboard each day.
A door adjustment is a separate decision.
Tell the surveyor where the door catches and whether the symptom varies. Hinges, fixings, frame movement and damaged material may be involved. A new floor can reveal a clearance issue, but it should not become an automatic instruction to remove material from the bottom of every door.
If a door has a fire-safety function, its applicable specification needs checking before alteration. Include the frame, seals and hardware in that discussion. Matching a previous gap or copying an old adjustment does not establish that a proposed change is suitable.
At the architrave, look at the whole junction with the floor and skirting. A small exposed gap can be caused by an earlier floor or trim replacement. Agree the intended repair and decorating boundary instead of expecting a new length of skirting to disguise every historic mismatch.
Expose enough to understand the floor problem.
A moving board may need attention to its fixings or support rather than a surface treatment. Identify any services or concealed conditions that need assessment before opening the floor. Where joists or other structural elements are involved, appropriate design or specialist advice should inform the work.
Check damp or soft timber before installing a new finish. Covering damage can make later investigation harder. If previous water damage is relevant, describe the event and repair history so the carpentry scope can be coordinated with any necessary investigation rather than treating the replacement floor as the cure.
Retained trim can sometimes be repaired locally, but the result depends on condition, profile and finish. Discuss any marks likely to remain and whether a longer replacement gives a more coherent junction. Keep significant historic fabric subject to the appropriate property-specific advice before removing it.
Look beyond the face of the board.
Solid timber and engineered flooring are different constructions, while laminate is another product type again. Follow the chosen flooring specification and installation guidance. The way a floor meets a fixed cabinet or threshold should be decided for that product rather than transferred casually from another room.
MDF can be useful for suitable painted skirting, architrave and furniture parts. Specify grade, edges, fixing backgrounds and coating preparation. Moisture-resistant MDF is not waterproof; it does not make an unresolved damp edge acceptable.
Solid-timber trim offers visible grain or a particular profile and responds to moisture conditions. Veneered furniture panels have their own edge and repair details. Review the materials together in the room’s light, and retain cleaning and coating references for both the floor and the adjoining joinery.
Agree the boundary details before fitting.
| Joinery work | What to check | Decision to make |
|---|---|---|
| Floor build-up | All proposed layers and preparation. | Confirm the finished level used by adjoining work. |
| Skirting | Retained profiles and flooring instructions. | Set out the intended edge and making good. |
| Internal door | Frame condition and safety role. | Assess adjustment rather than assume trimming. |
| Wardrobe base | Floor system and future access. | Agree the fitting sequence and visible junction. |
| Threshold | Levels and adjoining materials. | Review the complete transition before ordering parts. |
Bring the Camden room edges into the survey.
Photograph each doorway from both sides. Include the threshold and a wider view showing how the rooms connect. A change that looks minor in one room may leave an awkward transition in the next, particularly where floors have been replaced at different times.
If you want to retain old skirting, show a complete profile and any repaired corners. Discuss removal risks before assuming it can be lifted and refitted without loss. A decision to preserve a detail should be reflected in the preparation and handling scope.
Empty the edges of the room for final measurement and agree when heavy furniture will move. Identify where removed flooring and long trim can leave the property. Protection should cover the route used by the work, not just the room receiving the new finish.
Coordinate the work before the first fitted edge.
Record what meets what
Send room photographs and the proposed floor product details. Mark doors, retained trims and furniture that affect the sequence.
Survey levels and junctions
Review backgrounds and prepared dimensions, then agree drawings or details for uncertain edges. Identify structural or moisture questions requiring further assessment.
Prepare in the agreed order
Keep floor and carpentry responsibilities aligned. Review changed levels or exposed defects before making components that depend on them.
Inspect movement and finishes
Check doors, drawers and thresholds in use. Retain the flooring, trim and coating references with the supplied maintenance guidance.
Price the preparation as well as the visible trim.
Compare removal, background repairs, fitted lengths and finishing separately enough to understand the proposal. A quote for new skirting alone is different from careful removal and refitting around a changed floor.
Door adjustments should state the assessed scope and relevant limitations. Replacing a leaf or repairing a frame can be different work from easing a sound assembly. Keep uncertain findings visible rather than hiding them inside a general finishing allowance.
Include decoration to disturbed walls and timber through the painting and decorating plan. If cost changes are needed, simplify a detail before installation rather than leaving a gap between the agreed carpentry and finishing scopes.
Questions about floors meeting joinery.
Should the skirting come off first?
That depends on the chosen floor system, the existing trim and the intended detail. Agree the sequence after reviewing the product requirements and the condition of any skirting you want retained.
Can every door be trimmed for a thicker floor?
No assumption should be made. Assess the door assembly, condition and any safety specification before deciding what alteration or replacement is appropriate.
When are final wardrobe measurements taken?
Confirm which preparation changes the opening first. Final dimensions should relate to the agreed fitting condition and floor arrangement, with the sequence understood by both trades.
Will old and new skirting match exactly?
Compare profile and size as well as finish. Age, prior repairs and product availability affect the result. Agree a close match or an intentional transition with a real sample where useful.
What if boards move under the old carpet?
Have the cause assessed before covering them. Fixings, supporting construction or damage may need different responses; a new surface does not establish that the underlying movement is resolved.
Does moisture-resistant MDF suit a damp floor edge?
It is not waterproof and is not a remedy for damp. Establish the cause and specify materials and coatings for the actual conditions.
Can thresholds be chosen at the end?
Their dimensions may depend on finished levels, floor products and door movement. Review the transition early enough to avoid relying on an unsuitable last-minute cover strip.
Who paints the new trim?
Agree this in the written scope, including preparation, cut ends and adjoining disturbed surfaces. Separate installers and decorators need the same understanding of where each task finishes.
Carpentry in nearby areas
Read about joinery planning in neighbouring areas, or return to our London carpentry service.
Resolve the edges before the room is finished.
Arrange a Camden carpentry survey with your flooring information and photographs of the existing junctions. Agree the levels, sequence and finishing responsibilities together.