
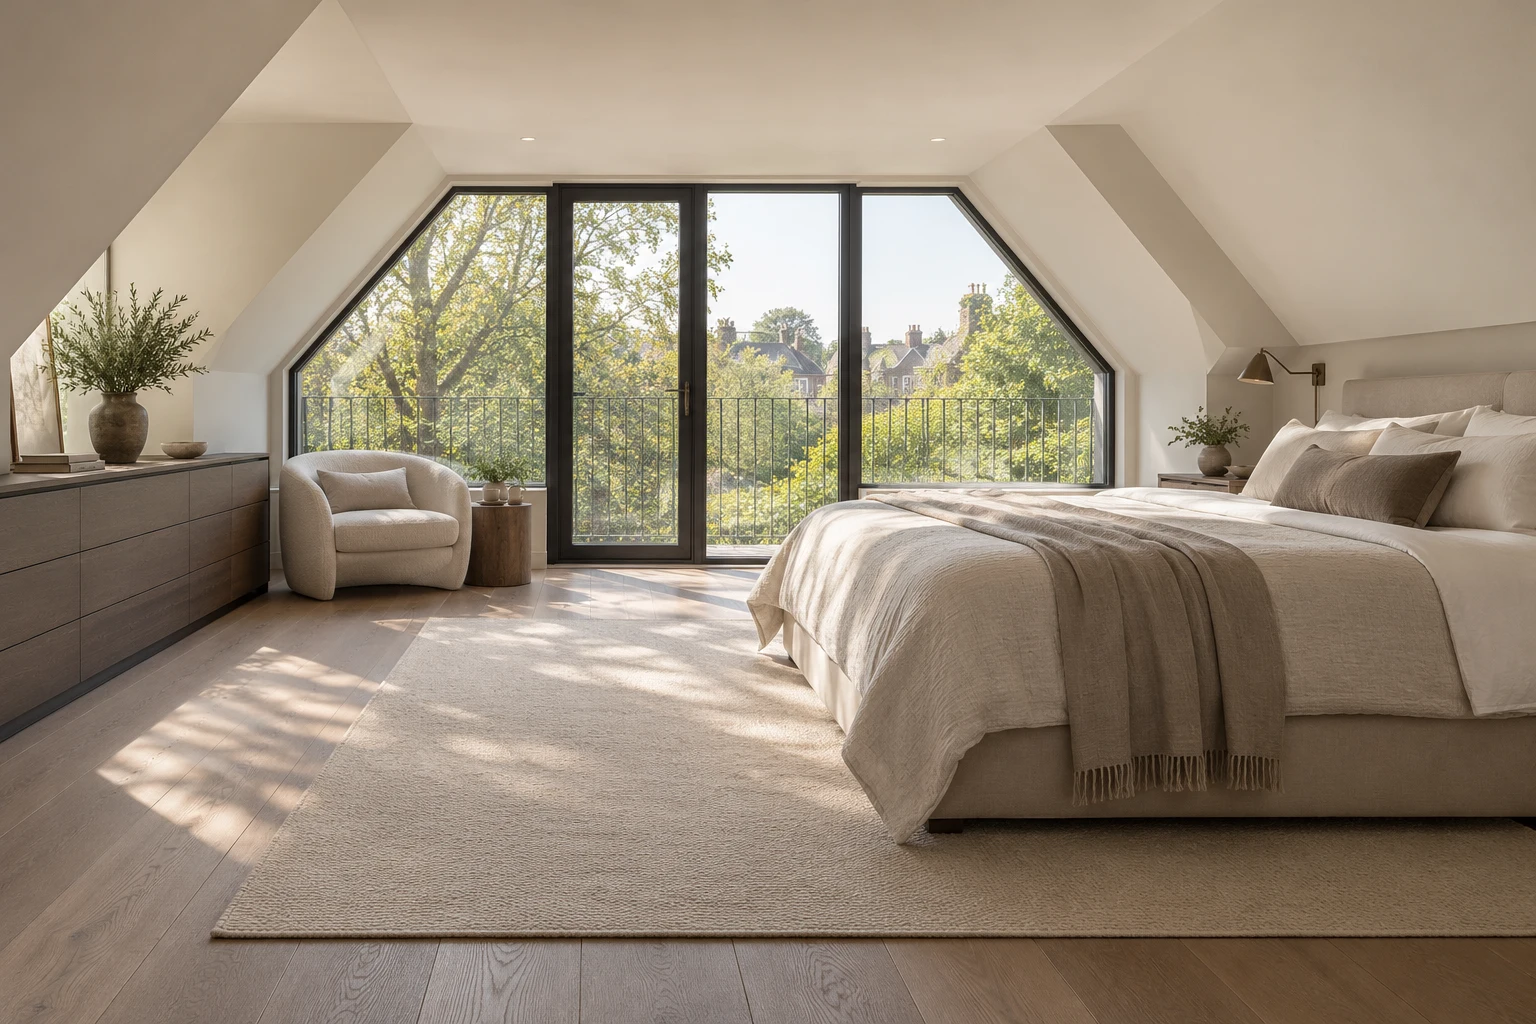
RIGHT BUILD GROUP · KENSINGTON
Loft Conversion in Kensington
Read the roof from the street before drawing the room behind it. Plan parapet relationships, usable height and the staircase as one proposal.
- Roofline recorded first
- Setbacks tested in section
- Interior dimensions coordinated
The parapet is part of the design brief
A parapet can make the roof behind it seem like hidden space waiting to be used. In practice, the relationship between its height, a proposed addition and the view from surrounding streets needs careful study. Begin with the building’s existing termination, then test how an occupied room and stair could fit without assuming that everything behind the front wall is unseen.
Right Build’s loft conversion service includes rooflight, dormer, mansard and hip-to-gable work. For a Kensington proposal, bring photographs showing the whole elevation and any earlier roof drawings. The discussion should connect the external silhouette with the completed interior, rather than select a conversion label before the roof is understood.
THE FORM OF THE ROOF
Compare the roof changes each approach makes
Concept silhouettes show the broad differences; they are not proposals for a particular property.
Rooflight conversion
A rooflight scheme retains more of the existing outline and may suit a roof with sufficient usable volume already. It does not raise the ceiling by itself. Check the finished section, stair clearance and the opening’s visibility before treating it as a simple way to occupy space behind a parapet.
Dormer conversion
A dormer creates a projection from a roof slope, potentially adding standing area in a useful location. Its cheeks, roof and window need to be considered against the host building. A setback may affect both its visibility and the amount of practical room gained, so draw those consequences together.
Mansard conversion
A mansard reshapes the roof more extensively and can change the building’s apparent upper storey. Its relationship with the parapet, adjoining roofs and terrace ends needs assessment. A generous internal plan is not enough to establish that this change is appropriate for the particular property or permission context.
Hip-to-gable conversion
This option requires a suitable hipped end to the existing roof. Replacing that slope with a gable changes the side silhouette as well as internal volume. It is not a standard choice for every Kensington terrace, and its structural and planning implications need to be tested against the actual geometry.
Dormer, mansard or hip-to-gable?
| Approach | Space inside | Change to the roof | First decision |
|---|---|---|---|
| Dormer | Adds height where a roof projection is formed. | A separate element remains legible within the slope. | How do cheeks and setback relate to the parapet and room? |
| Mansard | Can reorganise a larger part of the roof volume. | Changes the upper profile of the building. | Is the altered termination appropriate within the building group? |
| Hip-to-gable | Can recover space beneath a hipped roof end. | Introduces a vertical side gable. | Does the existing geometry support this approach? |
READ THE EXISTING STRUCTURE
Test the setback in the same section as the room
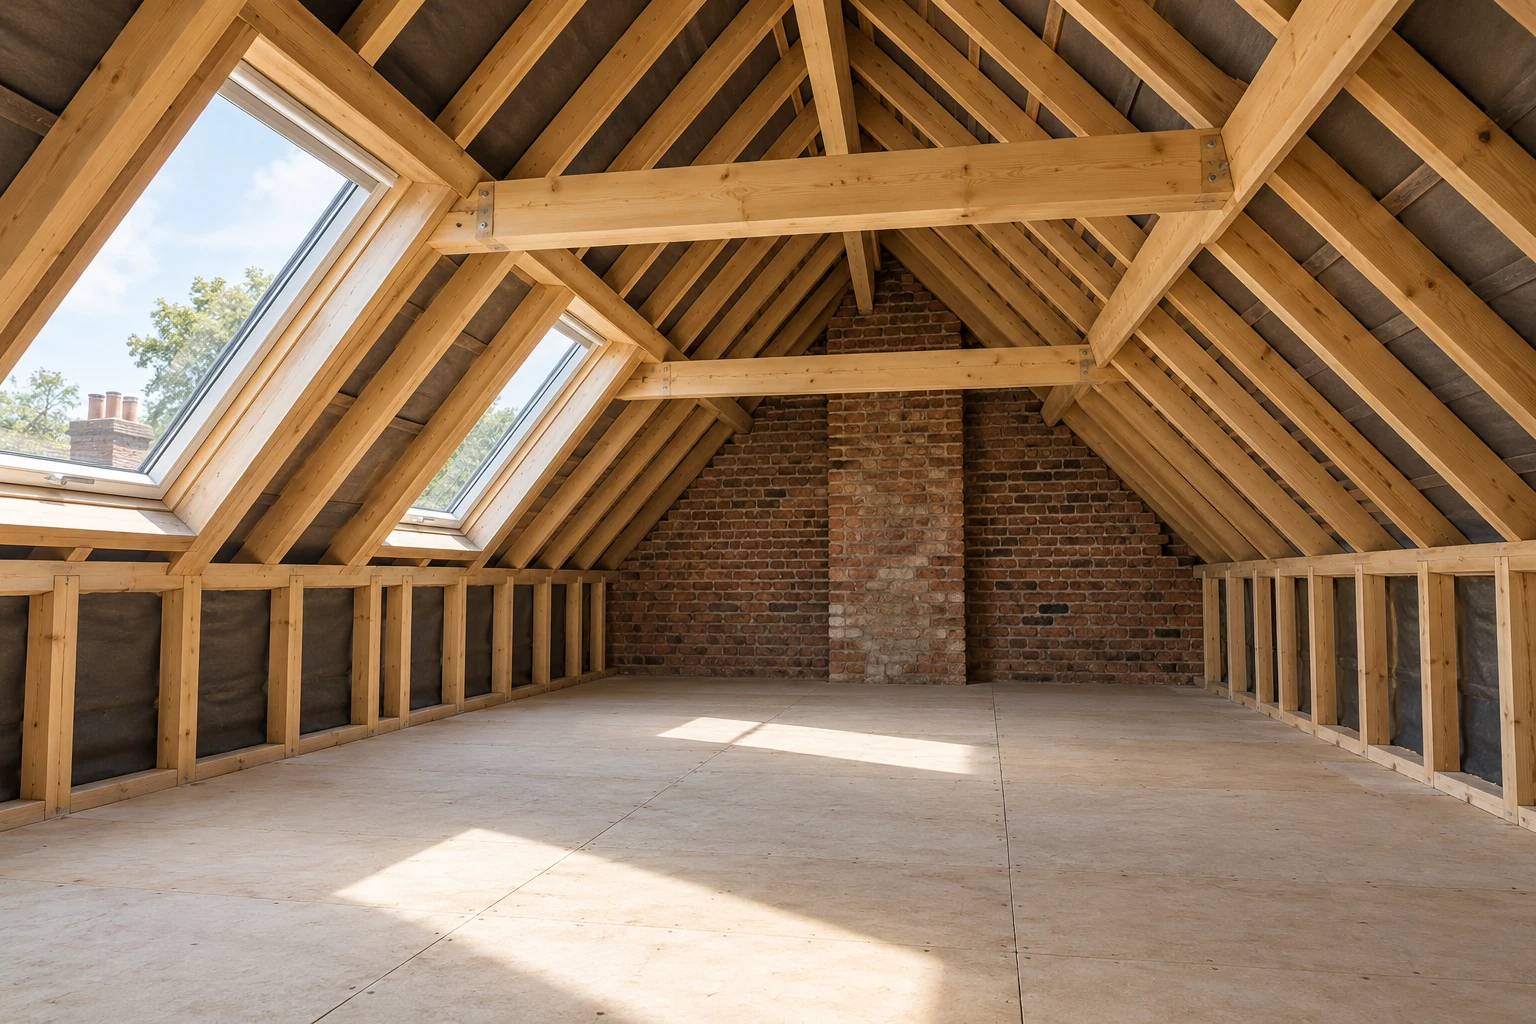
Record parapet height, coping, cornice and the slope or flat roof behind them. Include nearby roof levels where they help explain the building group. A photograph taken directly opposite the house can miss an addition visible on an oblique approach, so review more than one viewpoint.
Show the proposed setback on a section with finished floor and ceiling layers included. Moving an addition back can affect the landing, wardrobe or usable standing zone. Compare those effects before promising that a change which is modest outside will produce the same room inside.
Coordinate window positions with the roof composition and furniture. A dormer aligned attractively on an elevation can put a cheek wall beside the only convenient route around a bed. Use measured furniture and door movements to test the proposal rather than relying on an empty room outline.
Link the loft to any wider house refurbishment. A new stair or service route may affect accommodation below, while roof repairs can change the construction sequence. Identify those interfaces before the loft specification is treated as a separate package with no consequences elsewhere.
A parapet does not explain the support behind it
The survey needs to establish roof construction, existing alterations and the proposed new floor loads. Ceiling joists should not be assumed suitable for habitable use. An appropriate structural design should explain the load path and supports, including any affected walls below, rather than simply place a beam on the architectural plan.
Inspect roof edges, drainage and parapet junctions before concealing them. A leak at the coping or flashing can affect new insulation and finishes behind it. Record identified repairs and any further investigation, and coordinate the stair opening with roof and floor changes before construction begins.
Distinguish concealed volume from usable space
Measure the completed section after the new floor, insulation and roof lining are allowed for. The useful question is where someone can stand and move, not only the highest point beneath the ridge. A parapet-side zone may be valuable for storage while remaining unsuitable for the landing or main circulation.
Plot the bed, desk or seating at those finished dimensions. Include the movement needed to open wardrobes and reach windows. Avoid applying one universal room-height figure to every loft; the roof shape, intended occupation and stair arrangement need a coordinated feasibility assessment.
THE CONNECTION BETWEEN FLOORS
Find the landing before fixing the roof addition
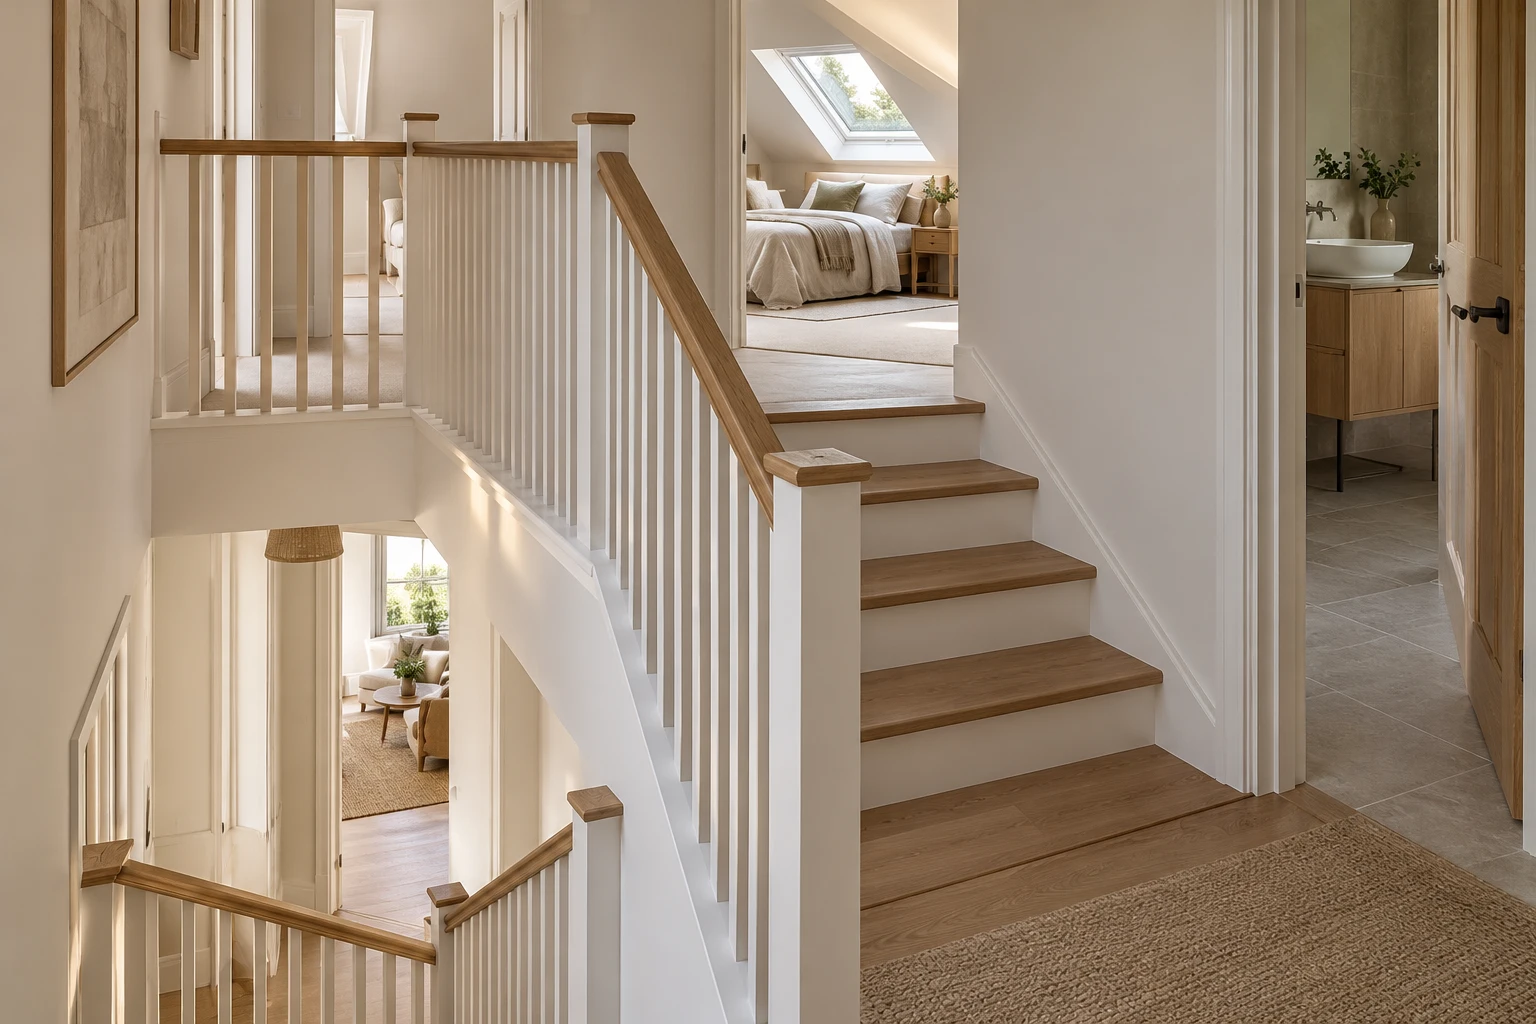
A stair arriving close to a parapet or sloping ceiling needs careful section work. Test the walking line, landing and door openings alongside the room above. The stair should not be squeezed into the last unused corner after the preferred dormer or mansard has fixed the available height.
Check what the stair removes from the floor below and how its approach works with existing doors. Suitable stair geometry, guarding and clearance need appropriate design review. Confirm the resulting dimensions before commissioning fitted landing and eaves joinery, including a practical route for moving furniture upstairs.
Detail the roof edge as carefully as its centre
Thermal and moisture continuity
Insulation and moisture-control layers need a compatible route at parapets, cheeks and roof junctions. Follow the design for the selected construction rather than mixing standard details. Existing water entry must be addressed before enclosure, and any roof ventilation required by the chosen assembly should remain effective.
Air for occupied rooms
Habitable-room ventilation is separate from ventilation within the roof construction. Plan it for the intended bedroom, office or bathroom use and applicable requirements. Keep opening controls and air paths reachable after blinds and fitted storage are installed; a discreet exterior should still allow practical operation.
Heating and daylight
Assess heating alongside the completed enclosure and glazing. A small dormer may concentrate light, while rooflights can introduce glare at a desk. Consider shading, lighting and controls with the furniture plan so the room remains comfortable without relying on a permanently closed blind or an improvised heater.
BUILDING CONTROL
The escape route continues below the loft
Creating a new occupied floor can affect the fire strategy through the existing house. Review escape, detection and relevant fire-resisting construction with appropriate design and building-control input. Explain open-plan areas and earlier doorway changes before the stair and landing are agreed.
Do not assume a roof window replaces the required escape strategy or that one door product settles the whole design. Include affected work below the loft in the quotation and inspection sequence. The new room’s finishes should follow the coordinated safety design, not determine it.
THE PLANNING ROUTE
Check the building and the category of roof work
The Planning Portal guidance distinguishes roof enlargement from other roof alterations. Householder allowances are conditional and do not apply to flats in the same way. Previous additions, conditions and removed rights need checking before a setback is assumed to make a proposal permitted development.
Class B roof enlargement rights are unavailable on designated land including conservation areas. Rooflight alterations require a different assessment, with relevant controls checked for the address. Listed-building consent is a separate question where work affects special architectural or historic interest; not all Kensington properties share the same status.
Habitable conversion also requires building regulations approval. Coordinate structure, stairs, fire, thermal performance and ventilation through the appropriate process. Work to a shared structure may engage Party Wall procedures, so review those responsibilities early rather than treating planning permission as approval for every aspect of construction.
Kensington context: the existing roof termination matters
RBKC’s adopted Kensington Conservation Area Appraisal records cornicing and parapet details in the stucco-fronted Campden Grove terraces. For a property within that group, study the established termination and adjoining roof relationships before deciding how a loft proposal should sit behind or above it.
Where the roof has already been changed, show the alteration and its relationship with neighbouring houses on the survey drawings. Earlier work can explain an unusual level or material, but it does not establish approval for a further addition. Obtain the relevant history where available and assess the new proposal separately.
Photograph views from both ends of the street where safe and practical. A side or corner view can reveal roof construction hidden in the principal elevation. These records give the design discussion a useful basis without assuming that a front parapet screens every possible alteration.
FROM THE FIRST SURVEY
Develop the roof and room together
Collect the brief
Share existing drawings, roof history and the intended occupation. Identify the features you want retained and the rooms below that need to keep working.
Survey the section
Assess roof form, support and finished dimensions. Compare staircase and roof options before fixing a preferred scheme.
Coordinate the specification
Resolve design input, approvals and the written scope. Include roof-edge repairs and affected work below.
Construct with checks
Follow the agreed structural and enclosure design, with relevant inspections before concealment. Review changes against the coordinated drawings.
Complete the walkthrough
Check operation, finishes and agreed making-good. Retain relevant completion and product information for the converted accommodation.
Price the edge details and the usable result
Roof type alone does not explain the cost. Parapet repairs, access, structural support, stair position and the extent of work below can change the scope materially. Compare quotations using the same drawings, including the finished section and external details.
A setback that changes the interior can also affect fitted storage and service positions. Keep those consequences visible when comparing design options. Decide what useful space each option delivers rather than selecting the largest stated floor area without considering its height and circulation.
Identify unresolved investigation and how resulting work will be reviewed. Confirm responsibility for bespoke windows and joinery before ordering. A clear specification can reduce avoidable changes, but no fixed programme should ignore approvals, inspections or the condition found when existing construction is opened.
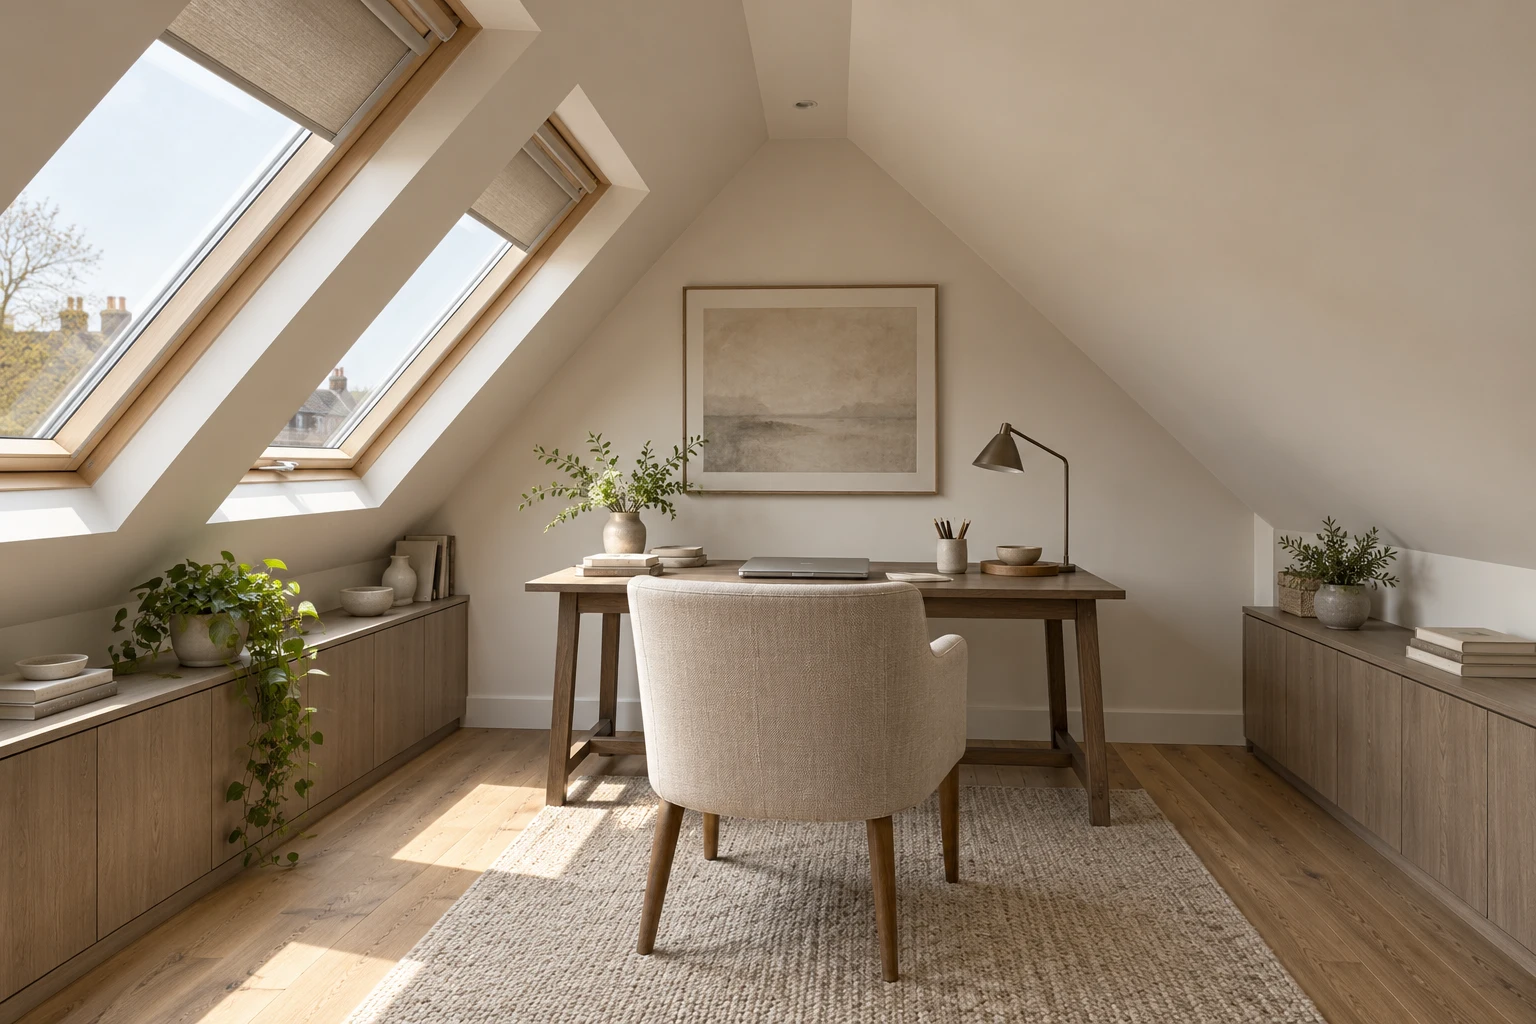
The roof edge and the room behind it
Consider exterior proportions, finished sections and the staircase together when reviewing design references.
BEFORE YOU COMMISSION DRAWINGS
Loft conversion questions.
Does a front parapet hide any loft addition behind it?
Not necessarily. Review oblique views and surrounding levels as well as the elevation directly opposite the house. Visibility needs assessing for the proposed shape.
How does a setback affect the room plan?
It can change landing space, standing height and storage positions. Show it in the finished section before assuming the internal layout remains the same.
Should parapet repairs be left until after the loft lining?
Inspect and resolve identified defects before enclosure where needed. Roof-edge water entry can damage the new construction and is harder to address behind finished work.
Can the cornice determine the dormer window position?
It is an important exterior reference, but coordinate it with structure and the interior. The proposed window should work for furniture and circulation too.
What should be measured behind an existing roof extension?
Record construction, levels and the relationship with retained roof areas. Earlier additions can reduce options or alter support, so do not assume the original roof dimensions remain available.
Can low floor beside a parapet count as normal circulation?
Test the finished height and intended movement. Low zones may suit storage but should not be treated as equivalent to a comfortable standing route.
Will matching a neighbour’s roof guarantee consent?
No. A nearby alteration is context, not approval for another property. Assess the building group, current controls and the proposed work on its own merits.
When should fitted eaves units be ordered?
After the structure, finished floor and lining dimensions are coordinated. Confirm access to roof openings and services before manufacture fixes the internal arrangement.
Other local loft considerations
Related locality guidance explores different roof and layout decisions alongside the survey of your property.
Bring the roofline into the first discussion
Arrange a survey to consider the parapet, finished room and stair connection together.